EDIT: This is an old, unpublished post that has sat around for a number of years.
So our local train show came and went. I didn’t participate much, just fun Friday ops at Coquihalla man’s KVR http://kettlevalleymodelrailway.blogspot.ca/ where I held down the Brookmere operator’s position and then two hours at the Craftsman’s Corner to close out the weekend. I’ve always loved the idea of live modelling on the floor of a general hobby show and petitioned the committee I was on to take up the idea but since we we’re pretty bare bones at the end and I was already tied up with BC RPM the task was left to the late Jim Peters to formally set up an informal schedule of modellers for a table on the main floor of the Cameron Rec Centre.
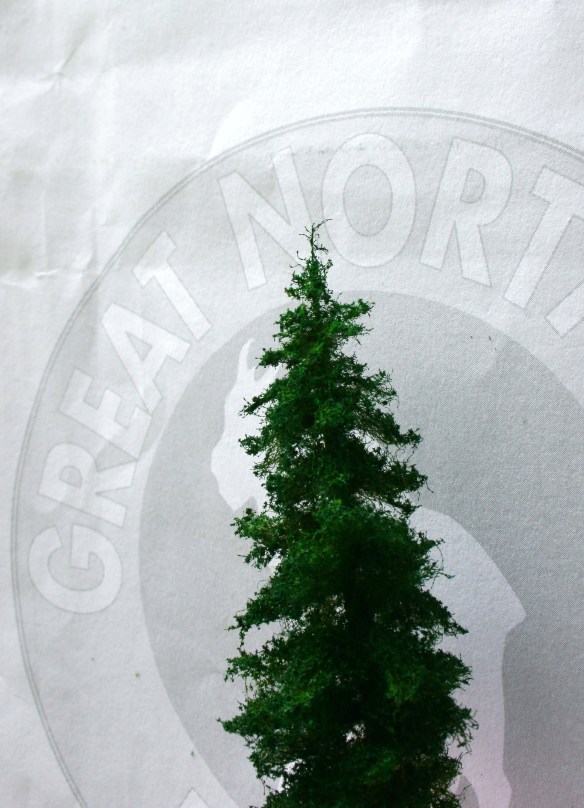
This year, with Jim’s passing, Doug Hicks organized us into formation. For my part I went with an old standby and showed folks how to make leaves and forest floor from sifted sawdust and paint. In the hours before the show while I was going through my boxes of supplies I came across some conifers sunk in Styrofoam at the bottom of a box. This is one of the more garish ones that I left home:

Crappy little tree. Too green, needs some trimming but about the right shape for a 20 footer with lots of exposure.
By itself the colour isn’t too distracting. The shape is decent for a young tree with plenty of exposure but there is still some trimming to go. I was aiming for something small and hemlockish that had grown along the cut line beside the tracks. Dunno how successfully- but it satisfied some other criteria – hence the post. Much of the Great Northern mailine through the Cascades was realigned during 1927-29 and again in the early 1960’s so the trees tended to be quite small in the era I’ve chosen and these 1 – 2.5 inchers are necessary in great quantities with plausible anatomy.
Fortunately they are quite easy to make. All you need is wire, yarn, spray adhesive, something to flock with and (spray) paint.

The yarn I used is some synthetic stuff sold by Phentex at Michael’s. I believe it is intended for slippers. It happened to be brown and stays fairly straight when you unwind it. I have a tree winder but these armatures were twisted between a vise and a pair of pliers. For more substantial specimens a layer of tape can be added to hold the lower fibers in place during winding but that adds too much bulk to small trunks. Loose fibers are applied to the top of the trunk with super glue and left to dry. Once dry you can thin things out with a small pair of scissors and start the branch forming process. Once painted the desired shade they stiffen up a bit and further refining can be done right through the flocking process. The little paper thimble is used to shield the tree top from excess spray adhesive or hairspray. Without some care the tops can become matted and lose the delicate features that make the tree airy. I tend to mange my scenery colour by airbrushing with fluid acrylics, shooting down from the top in most cases.
The armature stage goes pretty quickly, especially with a winder or lockwire pliers. Total finished time depends on what you want and how skilled you are at getting it. Nothing new there. In the finished state they’re suitable along a cut line and don’t distract too much from larger, more prominent trees with twisted loop branches.
AH
